

Understanding the anatomy of the body is the foundation of all health knowledge. However, many students find that theory alone is not enough to create deep insight. Practical teaching makes anatomy come alive and concrete, which strengthens both understanding and motivation.
This article shows you how to use a bone box in anatomy teaching, so you can create engaging and effective learning in 2026. You will get a step-by-step guide to selection, use and maintenance, as well as inspiration for didactic methods and technological integration that make teaching contemporary and inclusive.
Whether you're a new teacher or an experienced professional, you'll find concrete tips and best practices that optimize student learning. Read on and take your anatomy teaching to the next level.
What is an Ossuary? Definition and Contents
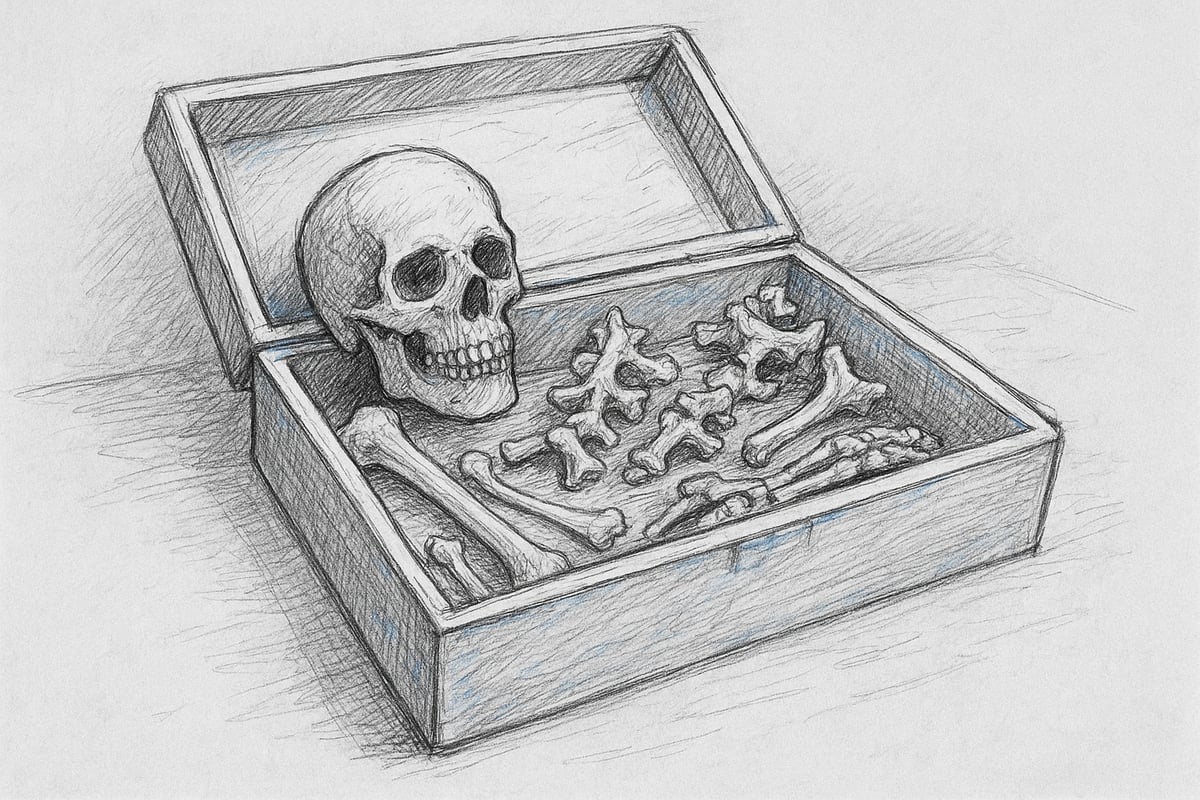
A bone box is a central tool when examining how to use a bone box in anatomy teaching. Bone boxes have played an important role in medical and health education for several decades. Originally they consisted of natural human bones, but developments have led to the use of synthetic materials such as plastic and resin. The purpose of the bone box was from the beginning to give students a concrete and realistic experience of anatomy. Over time, the bone box has become an indispensable tool, enabling practical exercises and a deeper understanding of the structure of the body through direct interaction.
Historical development and purpose
The history of the bone box can be traced back to the earliest anatomy lessons, where real human bones from donations or archaeological finds were used. Later, models began to be made from durable and hygienic materials. This development has meant that using a bone box in anatomy teaching is now both ethically sound and more accessible to more educational institutions. The main purpose remains to give students the opportunity to investigate and learn about the structures of the body through physical interaction, which strengthens the understanding and retention of anatomical knowledge.
Types of bone boxes and contents
There are several variations when it comes to how a bone box is used in anatomy teaching. The most common types include:
- Human bone boxes containing human skeletal parts
- Animal models for comparative anatomy
- Complete sets with the entire skeleton
- Partial sets of selected bones such as skulls, limbs or vertebrae
The materials range from plastic and resin to rare, natural bones. Typically, a bone box contains elements such as skulls, vertebrae, ribs, pelvis and limbs. The composition depends on the goals and level of the teaching.
Quality standards and safety
When using a bone box in anatomy teaching, it is essential that the models are accurate and detailed. High quality ensures that students can identify even small anatomical structures. Safety precautions include proper handling, cleaning of models, and storage away from moisture and direct sunlight. Many bone boxes are also certified for educational use, and educators should follow applicable standards. For additional resources and guidance, visit For Anatomy Teachers , which provides tips for effective and safe use of bone boxes.
Benefits of using in teaching
One of the biggest benefits of using a bone box in anatomy teaching is the enhanced learning through hands-on experience. Students are given the opportunity to feel, turn, and examine bones, which promotes understanding. The bone box also enables differentiated instruction, where activities can be adapted to different levels and learning styles. Studies show that the use of physical models can increase the retention of anatomical knowledge by up to 30%. This makes the bone box a valuable complement to both theoretical and digital resources.
Step-by-Step: How to Use a Bone Box in Anatomy Teaching
Understanding how to use a bone box in anatomy teaching requires a systematic approach from preparation to evaluation. A well-structured process ensures that students get the maximum benefit from hands-on learning and gain an in-depth understanding of the complexities of anatomy.
Preparation before class
Before you get started with how to use a bone box in anatomy teaching, it requires careful preparation.
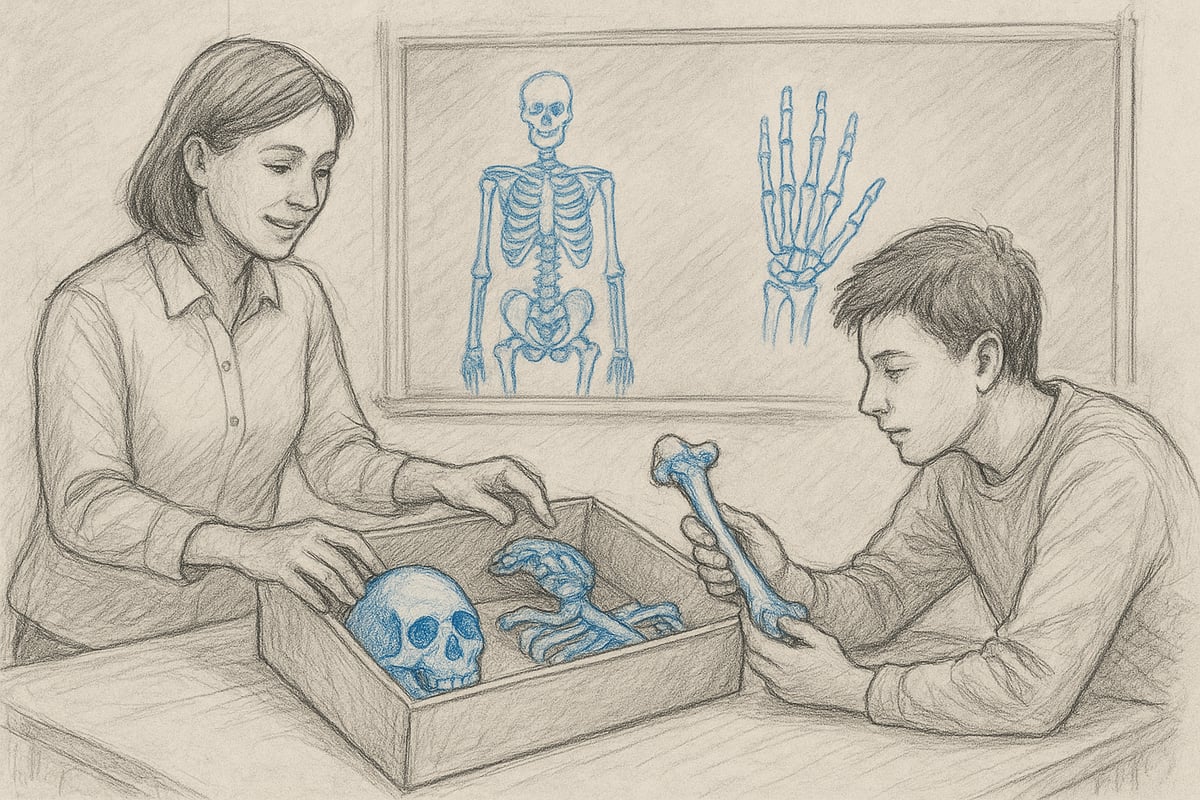
Start by selecting the right bone box to match both student level and learning objectives. Carefully review the contents and ensure that all bone models are intact, clean, and properly labeled. This may include checking skulls, vertebrae, and limbs.
Clean the models with suitable products to ensure hygiene. Check that all parts are present and replace any missing or damaged elements.
The classroom should be prepared with ample space, lighting, and access to a sink. Place the bone box centrally and ensure that all students have equal access to the materials.
A checklist for preparation might look like this:
| Step | Action |
|---|---|
| Selection | Choose a bone box according to learning goals |
| Examination | Check and clean all models |
| Lineup | Prepare rooms and workstations |
By following this structure, you ensure that how to use a bone box in anatomy teaching is effective from the start.
Introducing the bone box to students
When the lesson begins, the bone box and its purpose are clearly presented to the students. Explain how a bone box is used in anatomy teaching and how it can enhance their learning outcomes.
Create engagement by highlighting the opportunity to work with realistic models that make it easier to understand the structure of the body. Briefly review the content and show how the individual parts are connected.
Provide clear instructions on proper handling of the bone models. Safety is essential, especially if natural bones or heavy elements are involved.
Encourage questions and discussion during the introduction. For students who want additional guidance, For the New Student can provide helpful tips and resources to get you started.
An engaging introduction increases motivation and sets the framework for how to use a bone box in anatomy teaching throughout the course.
Practical exercises and learning activities
The central part of how to use a bone box in anatomy teaching is the practical exercises. Here, students actively work on identifying, naming, and comparing different bones and structures.
Start with individual exercises where students examine and describe individual bones. Then they can work together in groups and solve tasks such as assembling a skeleton or comparing human and animal bones.
Incorporate collaborative activities where students discuss the differences and similarities between bone types. Use small competitions or quizzes to create extra motivation.
Examples of exercises:
- Identify and name five different bones
- Compare a human and an animal bone
- Assemble parts of a skeleton into groups
These activities illustrate how a bone box can be used in anatomy teaching to strengthen both knowledge and collaboration skills.
Integration of theory and practice
To maximize the effect of using a bone box in anatomy teaching, theory and practice should be closely linked. Start by reviewing relevant textbook material and then let students apply their knowledge directly to the physical models.
Use cases where students analyze injuries or diseases based on the bone models. This increases understanding of how theoretical knowledge is translated into practice.
A typical case might be: "Examine a model of a broken forearm bone and explain which structures are affected."
By integrating theory and practice, students experience how a bone box is used in anatomy teaching to build deep insight and clinical understanding.
Evaluation and feedback
Effective use of a bone box in anatomy teaching requires ongoing evaluation. Start with formative evaluation, where students receive feedback along the way through observation and dialogue.
End the process with a summative evaluation, such as a test, assignment, or practical exam, where students demonstrate their skills. Also use peer feedback, where students evaluate each other's work and reflect on their own efforts.
Examples of evaluation methods:
- Quizzes about the names and functions of bones
- Practical tests with identification of structures
- Reflection tasks on learning outcomes
By including different forms of evaluation, you ensure that a bone box is used in anatomy teaching for continuous learning and development.
Maintenance and storage
Finally, proper maintenance is essential to how well a bone box is used in anatomy teaching over time. Clean the models thoroughly after use with mild detergents and wipe them gently.
Store the bone box in a dry, dust-free place, preferably in a lockable drawer or cupboard. Establish a routine for regular inspection, checking for wear or defects.
Follow this list for optimal maintenance:
- Clean all parts after each lesson.
- Store the bone box safely and dry
- Record and replace damaged or missing items
By establishing good routines, you ensure that using a bone box in anatomy teaching is effective, safe, and sustainable for both current and future students.
Didactic Methods and Learning Strategies with Bone Boxes
Active learning and student engagement
Active learning is essential when considering how to use a bone box in anatomy teaching. By allowing students to work directly with bone models, their understanding is strengthened through hands-on experience.
Roles can be swapped, with students taking on the roles of anatomy instructors or case solvers. This promotes both critical thinking and collaboration. For example, students can identify bone damage, analyze structures, or perform small role plays where they explain findings to each other.
Project-based learning is also effective. Here, students can prepare presentations, make models, or develop teaching materials based on their own observations. In this way, learning becomes both active and student-driven.
Differentiation and adaptation
When considering how to use a bone box in anatomy teaching, it is important to take into account different learning styles and levels. Some students learn best visually, while others benefit from tactile or auditory methods.
Bone boxes can be easily adapted for special education. For example, students with impaired vision can use tactile exercises, while students with special needs have the opportunity to work in smaller groups. In interdisciplinary courses, the bone box can be integrated into both biology and history, which strengthens the academic context.
By varying task types and levels of difficulty, it is ensured that all students receive challenges and experiences of success, regardless of their starting point.
Combining with digital resources
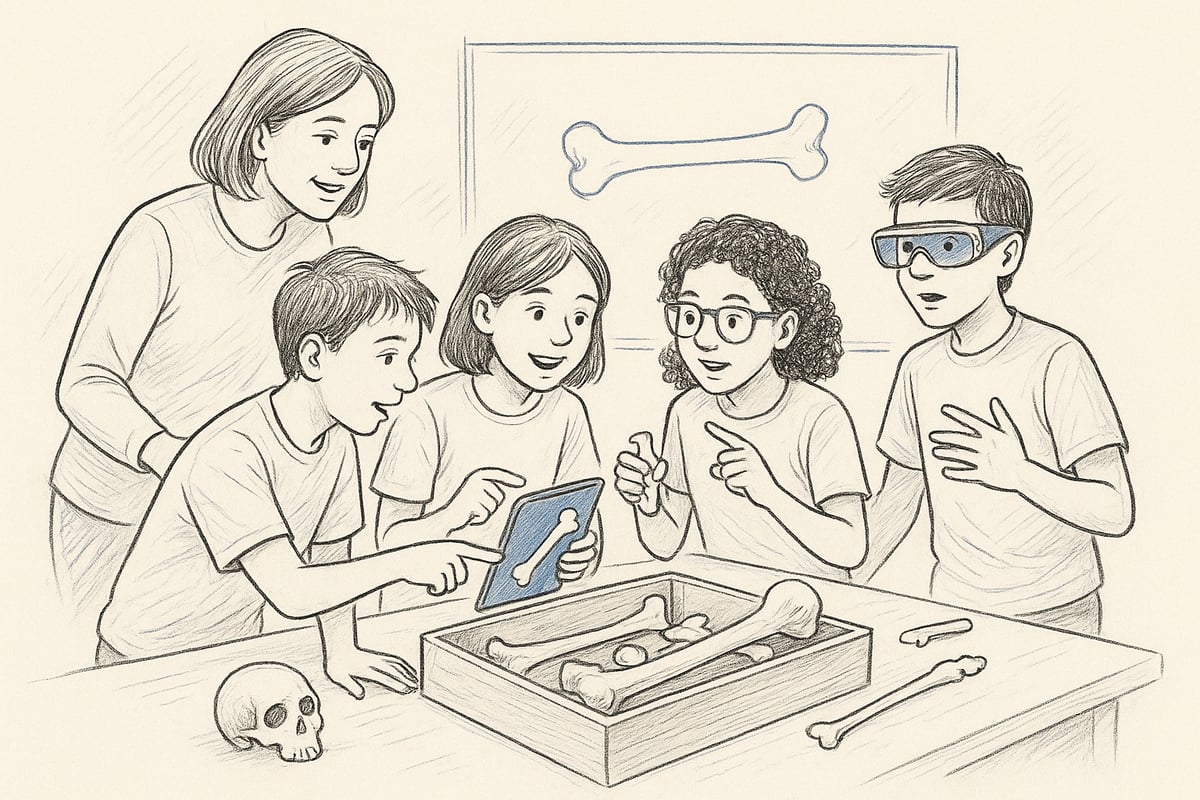
As technology advances, it makes sense to think digitally when examining how a bone box is used in anatomy teaching. Digital resources such as apps, AR/VR, and interactive posters can expand understanding and increase engagement.
Many educators report that blended learning, where physical and digital materials are combined, leads to better learning outcomes. Statistics show that 65% experience increased student engagement with this approach. For more inspiration, read Using Anatomical Models in Teaching , which explores the benefits of integrating physical and digital materials.
Digital platforms also enable distance learning, where students can work with virtual bone models from home.
Evaluation of learning outcomes
Effective evaluation is key to ensuring that a bone box is used optimally in anatomy teaching. Formative evaluation can take place on an ongoing basis through quizzes, peer feedback, or short presentations where students demonstrate their knowledge.
Summative methods, such as practical tests or written assignments, provide an opportunity to measure how well students can apply their knowledge in practice. Observation of students' work with the bone box also provides valuable feedback to the teacher.
By varying evaluation methods, different student preferences are accommodated, and learning outcomes can be documented systematically.
Technological Trends and the Bone Box of the Future in 2026
Developments in technology and teaching aids are setting a new standard for how to use a bone box in anatomy teaching. The latest trends are opening up more precise, flexible and engaging learning experiences, where both materials and digital solutions play a crucial role.
New materials and manufacturing methods
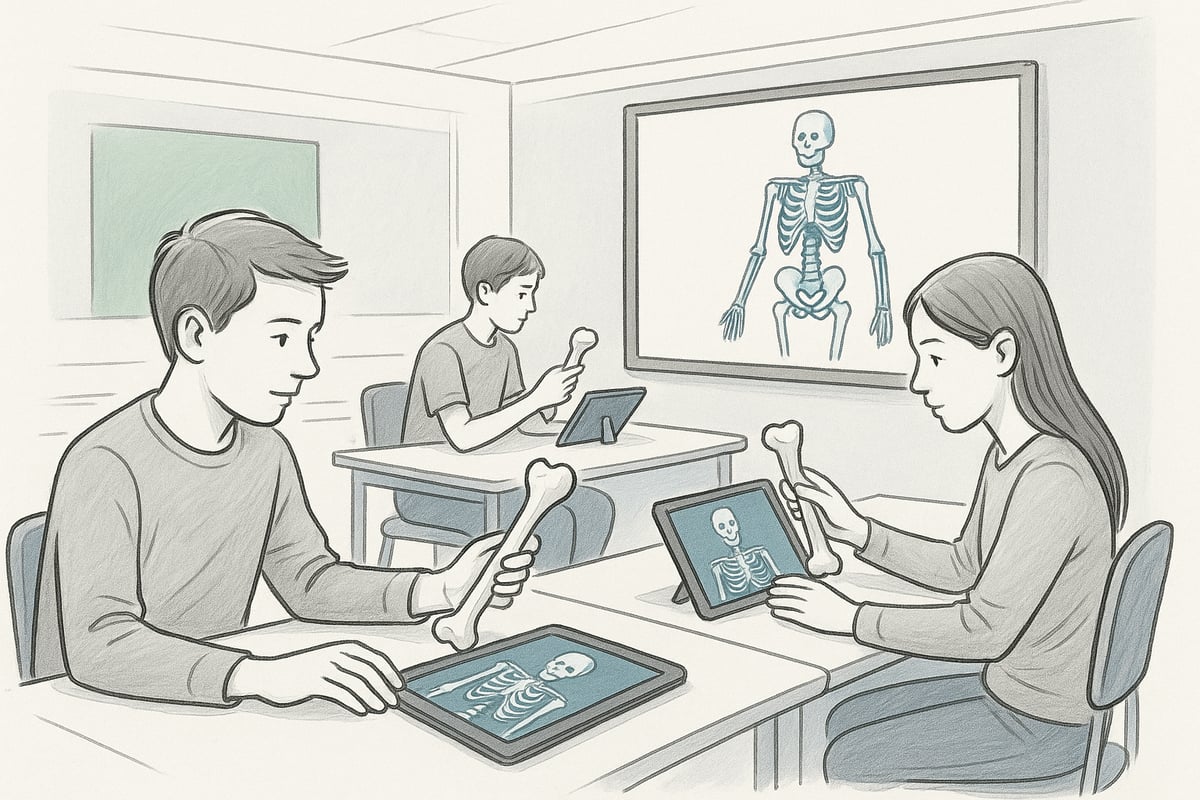
By 2026, 3D-printed bone models and sustainable materials will revolutionize how a bone box is used in anatomy education. Previously, natural bones or heavy plastic models were standard, but new biocompatible materials are making it possible to create lightweight, detailed, and environmentally friendly alternatives.
Benefits of this development include:
- Higher anatomical precision through advanced 3D printing
- Ability to adapt models to specific learning objectives
- Lower costs and greater availability
Several companies, such as Om eAnatomi og materials , specialize in innovative solutions for educational use, so that institutions can easily upgrade their teaching resources.
Digitalization and interactive solutions
Digitalization has a major impact on how a bone box is used in anatomy teaching. Smart bone boxes with sensors and AR technology make it possible to combine physical handling with virtual dissection and interactive feedback.
Teachers can now:
- Using augmented reality to show layer-by-layer bone structures
- Integrate sensors that respond to correct handling
- Offer virtual exercises that complement the physical models
According to Technology Trends in 2025 , 40% of educational institutions are expected to use AR in anatomy teaching by 2026, significantly increasing engagement and learning outcomes.
Adaptation to individual learning needs
One of the most groundbreaking trends in how to use a bone box in anatomy teaching is adapting it to the needs of the individual student. Using data collection and AI, teaching can be tailored so that each student has a personalized learning path.
Examples of individual adaptation:
- Automated feedback based on the student's interactions with the model
- Progression tracking that shows strengths and areas for improvement
- Ability to choose difficulty level and focus areas
This flexibility makes it easier to include both strong and challenged students in the work with bone boxes.
Global perspectives and accessibility
Globally, technology is also changing how a bone box is used in anatomy education. 3D printing and online access to virtual models are making it possible for even schools in developing countries to offer quality education without access to expensive collections.
Collaboration between institutions becomes easier as materials can be shared digitally and resources can be accessed via the internet. Virtual platforms allow students to practice on realistic models, no matter where they are.
These trends ensure that anatomy teaching with bone boxes in 2026 will be more inclusive, flexible and up-to-date.
Tips and Best Practices for Optimal Utilization of the Bone Box
Effective anatomy teaching requires more than just access to materials. Here are some best practices for using a bone box in anatomy teaching to maximize the learning experience for both students and teachers.
Organization and structuring of teaching
A well-structured lesson plan is the foundation for ensuring that a bone box is used optimally in anatomy teaching. Divide the lessons into logical sequences so that students gradually gain insight into the structure of the body.
- Start with clear learning goals and objectives.
- Plan progression, e.g. from coarse to more detailed bone structures.
- Integrate supplementary visual aids such as Anatomic aesthetics posters to support understanding and create visual references.
Station teaching, where students rotate between different tasks and focus areas, creates variety and allows for immersion.
Ensuring commitment and motivation
Variety in activities and task types is crucial when using a bone box in anatomy teaching. Use hands-on tasks, small competitions, and collaborative exercises to keep students engaged.
Gamification, where you add game elements like points or badges, can significantly increase motivation. Reward curiosity and initiative so students feel seen and recognized.
Create a safe learning environment where everyone can participate regardless of level. Use short feedback rounds and celebrating small progress to further strengthen motivation.
Quality control and ongoing evaluation
The quality of the materials is of great importance for how a bone box is used in anatomy teaching. Establish regular routines for inspecting and updating the contents so that the models are always clean and intact.
- Incorporate feedback from students and colleagues about the condition and relevance of the materials.
- Replace worn or outdated components regularly.
- Statistics show that 80% of teachers experience increased student satisfaction when materials are updated regularly.
Evaluate the effect of the teaching with quizzes, small tests and practical tasks to ensure that the learning objectives are achieved.
Collaboration and knowledge sharing
Collaboration between educators strengthens the quality of how to use a bone box in anatomy teaching. Share experiences, materials and ideas through professional networks or internal workshops.
Create databases of resources so colleagues can easily find inspiration and share customized exercises. Attend conferences or visit external offerings such as the Bone Box at SDU to gain new perspectives on practical anatomy.
By prioritizing knowledge sharing and continuous development, it is ensured that all students have access to the best learning opportunities.
When you want to take your anatomy teaching to the next level, a bone box allows you to combine theory and practice in an engaging way. We have seen how hands-on handling of models enhances learning, and how modern technologies and materials open up new possibilities in 2026. Are you considering how to best integrate these solutions into your own teaching, or are you looking for inspiration to choose the right model for your needs?
Read more about innovative anatomical models and resources at Read more here
0 comments