

Have you ever wondered how the eye actually works? With this guide, you will get an in-depth insight into the structure of the eye through the use of an eye model, making complex structures easy to understand. Whether you are a student, teacher or just curious, this article is relevant to you. We will review the anatomy of the eye model step by step, practical use and how to choose the right model. Read on and get a complete understanding of the anatomy of the eye in 2025.
What is an eye model?
An eye model is an indispensable tool that makes the complex structure of the eye tangible. But what exactly is an eye model, and why does it play such a central role in teaching and research? In this section, you will get an in-depth insight into the importance, development and use of the eye model.
Definition and purpose of eye models
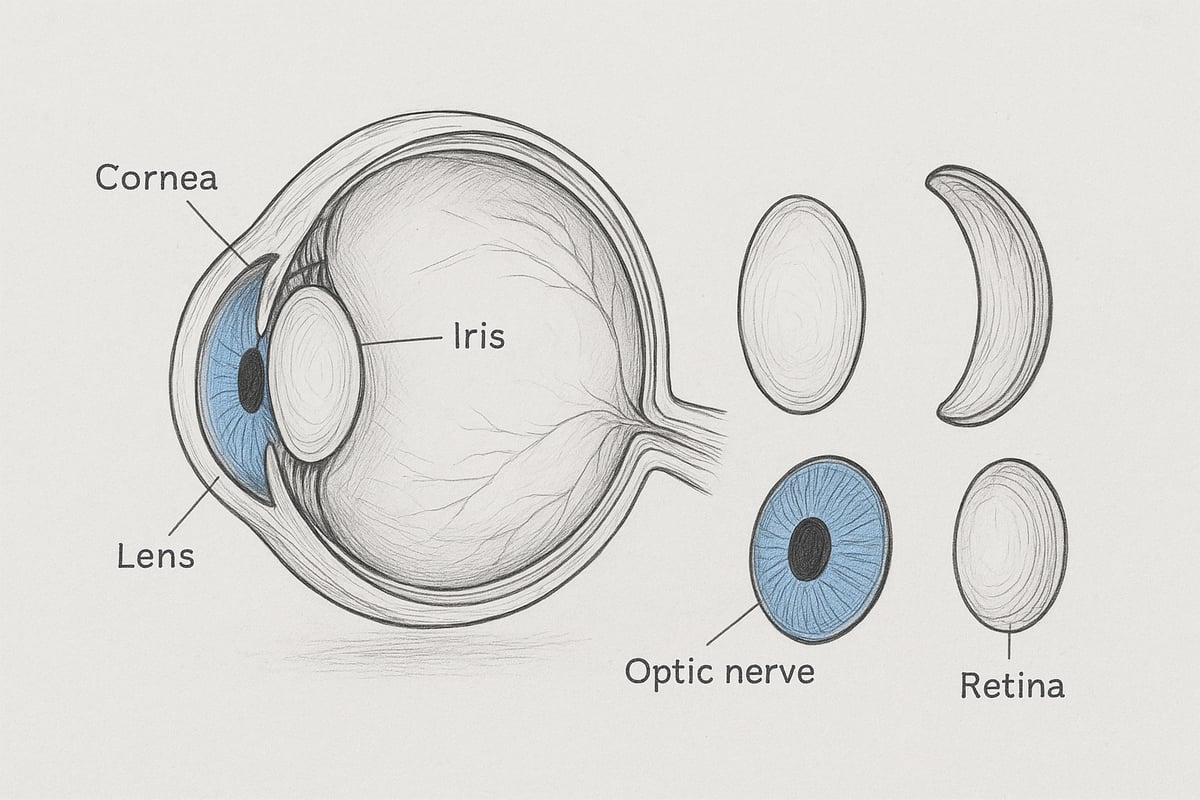
An eye model is a physical or digital representation of the structure of the eye, designed to provide a visual and tactile understanding of eye anatomy. In education, the eye model is used to illustrate everything from macroscopic layers to microscopic details, making it easier for both pupils and students to understand complex relationships.
There are didactic models that are adapted for school teaching, and professional models that are used in medical studies and research. For example, biology teachers often use the eye model to demonstrate the visual process, while ophthalmologists use advanced variants for patient communication. Statistics from the Danish education sector show that the use of physical models significantly increases understanding, especially when both the sense of sight and touch are activated.
If you want to see a wide selection of eye models, you can find inspiration among anatomical models for teaching , where both classic and new variants are presented.
Historical development of eye models
The first eye models were created in the 19th century. Back then, they were often made of wax or porcelain and were used in universities and museums to illustrate the anatomy of the eye. Over time, materials improved, and plastic models and later 3D printing made it possible to reproduce even more detail.
Technological advances have meant that today's eye models can be disassembled into many parts and show layer-by-layer structures. In universities and medical collections, classic models can still be seen, where one can follow the development from simple to highly detailed representations. The precision of modern eye models has improved significantly thanks to these technological advances.
Types of eye models on the market
There are several types of eye models on the market that meet different needs. Standard models reproduce the eye in life-size, while magnified models (often 3x or 4x) provide better opportunities to study details. Many models can be separated into several parts, typically six, which makes it easier to understand the structure of the anatomy.
Digital and augmented reality-based eye models are also gaining ground, especially in educational environments where interactivity and flexibility are in focus. In Danish schools and universities, enlarged and multi-part models are used in particular, as they provide more in-depth learning.
Here is a quick overview of typical models:
| Type | Size | Special characteristics |
|---|---|---|
| Standard | 1:1 | Often one unified unit |
| Enlarged | 3x-4x | Multiple parts, detailed |
| Digital/AR | Virtual | Interactive, flexible |
Benefits of using eye models in teaching
The eye model supports different learning styles. Visual learners benefit from seeing the structures, while kinesthetic learners learn best by touching and assembling. The model makes the complex anatomy of the eye more tangible and easier to understand for both children and adults.
A particular plus of the eye model is the ability to demonstrate diseases such as cataracts and retinal detachment. Statistics show that educators give eye models an average customer satisfaction rating of 8.4 out of 10. The practical approach enhances learning and makes difficult topics more accessible.
Who uses eye models?
The eye model is widely used. Teachers, students, medical students and healthcare professionals use it in teaching and training. Ophthalmologists and nurses often use the eye model to explain diagnoses and treatments to patients. In this way, the eye model acts as a link between theory and practice, creating a common understanding among both professionals and laypeople.
Anatomy of the Eye: A Step-by-Step Review with Eye Model
The anatomy of the eye is fascinating and complex. An eye model allows you to examine each part in detail, making even the smallest structures tangible. This step-by-step walkthrough will give you an overview of the main parts of the eye and show you how an eye model can be used to understand their function and interaction.
Overview: The main parts of the eye
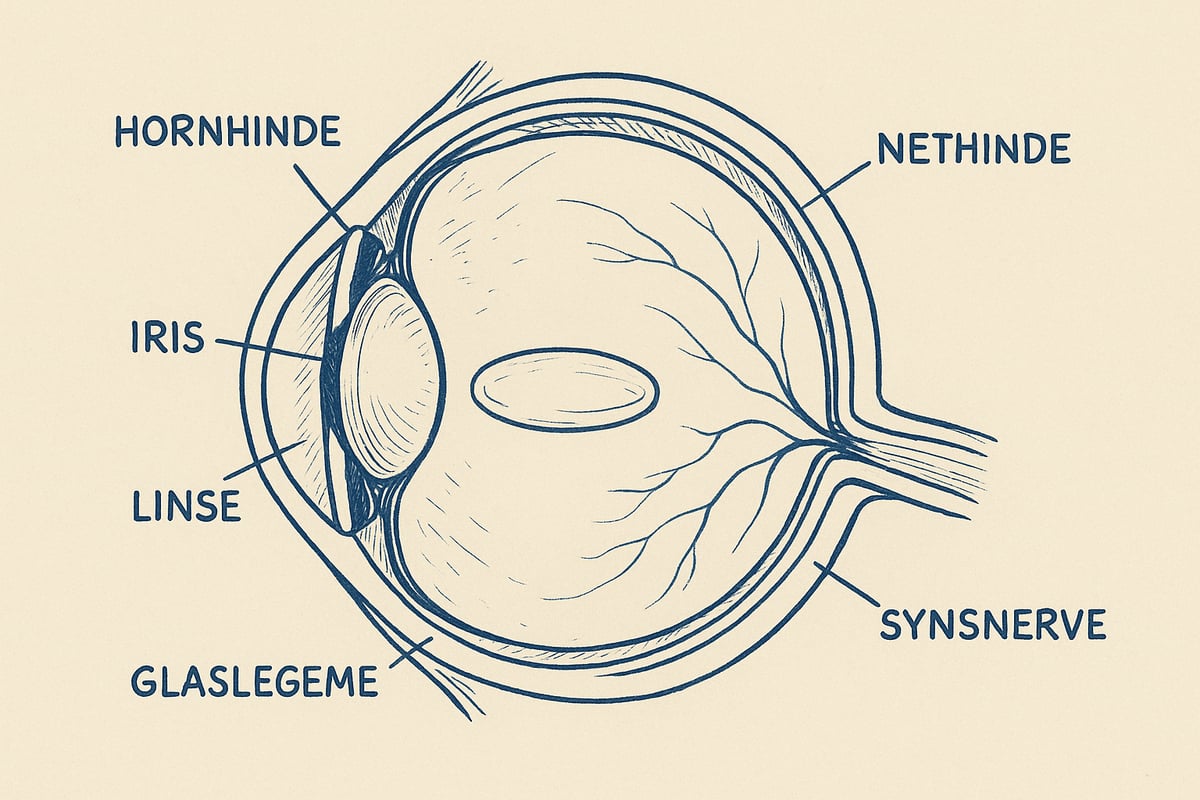
An eye model clearly illustrates the macrostructures of the eye, allowing you to see how the individual parts work together. The main parts include:
- The cornea, which is the clear front of the eye and protects against dust and bacteria.
- Sclera, also known as the white of the eye, which provides strength and structure.
- The lens, which focuses light onto the retina.
- Iris, which regulates how much light enters through the pupil.
- The retina, where light is converted into nerve impulses.
- The optic nerve, which sends the signals to the brain.
- The vitreous humor, which fills the interior of the eye and gives it shape.
With an eye model, you get the opportunity to see the location of each part and understand how they work together to ensure vision.
The cornea and sclera
The cornea is the transparent outer layer of the eye. It acts as a protective barrier and has an important role in refracting light before it travels further into the eye. The sclera forms the rest of the outer layer of the eye and gives the eye the necessary strength and stability.
When working with an eye model, you can often see these layers separated. On a magnified eye model (e.g. 3x), it becomes clear how the cornea covers the front of the eye, while the sclera encloses the rest. This makes it easier to understand why the outer structures of the eye are so robust.
The lens and aqueous humor
The lens in an eye model illustrates how the eye can focus light precisely on the retina. The lens is elastic and can change shape, making it possible to see clearly at both short and long distances.
The aqueous humor plays an important role in the nutrition and pressure of the eye. In many eye models, the lens can be removed to examine its position and shape. This allows both students and teachers to understand how the balance between the lens and aqueous humor maintains healthy vision.
Iris and pupil
The iris is the colored part of the eye and is responsible for regulating how much light enters the retina. This is done by changing the size of the pupil, which is the black hole in the center. The pupil dilates in darkness and contracts in bright light.
On an eye model, the iris can often be moved to demonstrate this process. This makes the dynamics of the visual process more understandable, especially when you can see how the iris and pupil work together to protect the inside of the eye.
The retina and optic nerve
The retina is the layer at the back of the eye where light is converted into electrical signals. These signals are sent to the brain through the optic nerve. The retina contains millions of light-sensitive cells, each of which has a specific function in vision.
An eye model clearly shows where the retina is located and where the optic nerve exits the eye. This helps both students and educators understand how damage to the retina or optic nerve can significantly affect vision.
The vitreous and the back of the eye
The vitreous humor fills most of the interior of the eye and consists of a jelly-like mass. Its main function is to maintain the shape of the eye and provide stability. The vitreous humor also protects the retina and ensures that light passes unhindered to the retina.
In an eye model, the vitreous body can often be removed so that it can be examined separately. The model can also be used to demonstrate diseases such as retinal detachment, where the vitreous body plays a central role.
Examples from practice: How to use the eye model in teaching
In practice, teachers often use a multi-part eye model, such as a 6-part model, to explain the vision process step by step. Students can take the eye apart and reassemble it, which strengthens their understanding of how the individual parts work together.
Statistics show that educators give eye models a customer satisfaction rating of 8.4/10, especially because the models allow for the visualization of complex anatomical relationships. For further inspiration and guidance, you can find resources for educators , which offer materials and tips for effective use of eye models in teaching.
By actively incorporating the eye model into teaching, both pupils and students gain a deeper, more practical understanding of the anatomy of the eye.
How to choose the right eye model
Choosing the right eye model can seem overwhelming if you don't know the most important criteria. The choice depends on how and where the model will be used. A carefully selected eye model ensures both effective learning and long durability.
Criteria for choosing an eye model
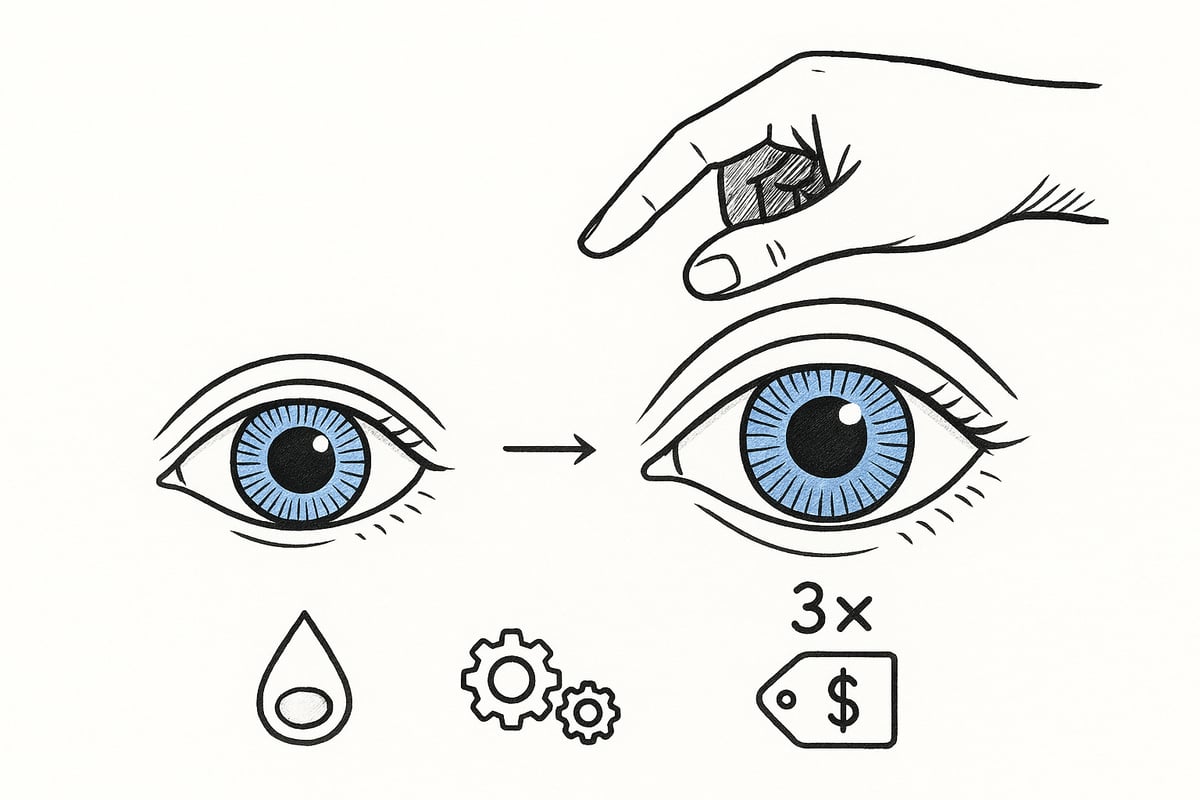
When choosing an eye model, you should first consider the size. Some prefer a life-size model, while others benefit from an enlarged version that makes details easier to see. The number of parts also plays a big role. A six-part model allows for the ability to disassemble and examine the anatomy of the eye in depth.
The material is crucial for both durability and level of detail. Models made of sturdy plastic last longer and can withstand frequent use. Ease of use is also important, especially if several people will be working on the model in shifts. Remember to check if the eye model comes with instructional material.
Purpose and target group
Your choice of eye model depends on who will be using it. For elementary school students, a simple, visual model may be sufficient, while high schools and universities often require more detailed and separable models. For patient education, many ophthalmologists choose an eye model that can clearly illustrate diseases or treatments.
Scientists and medical students need high precision and the ability to separate all the main parts of the eye. If you are a student and want to delve further, you can find inspiration atFor students: learn anatomy .
Comparison of popular eye models (2025)
The market for eye models offers several options to suit different needs. Below is an overview of the most commonly used models:
| Model type | Size | Number of parts | Advantages | Disadvantages |
|---|---|---|---|---|
| Standard | 1:1 | 3 | Easy to handle, affordable | Fewer details |
| Magnified (3x) | 3:1 | 6 | Clear structures, pedagogical | Requires more space |
| Digital/AR model | Virtual | Varies | Interactive, updatable | Requires technical equipment |
According to supplier statistics, magnified models are particularly popular among educators, while digital eye models are gaining ground at universities. Customer satisfaction is stable at over 8 out of 10.
Price, quality and availability
The price of an eye model varies depending on size, material and level of detail. In 2025, the price range is typically between DKK 400 and DKK 3500 for physical models. Digital eye models and AR solutions can often be purchased as a subscription.
Quality assurance is important, so choose reputable suppliers who offer warranties and documentation. Many places offer same-day delivery and free returns, providing flexibility for both educators and institutions.
Maintenance and storage
To ensure the long-term durability of your eye model, always clean the parts gently with a soft cloth and mild soap. Store the model in a dry place, away from direct sunlight, to preserve colors and details.
Avoid dropping or forcing the parts apart. Typical mistakes that can be avoided are incorrect assembly or using the wrong cleaning agents. A properly maintained eye model will provide many years of learning pleasure.
Practical use: How to work with the eye model step by step
Working with an eye model requires both preparation and systematicity to achieve the best understanding of the anatomy of the eye. Whether you are a teacher, student or just curious, here is a step-by-step guide. Each step will help you make optimal use of the eye model, so you can gain practical experience with the structure and function of the eye.
Preparation: Prepare the model
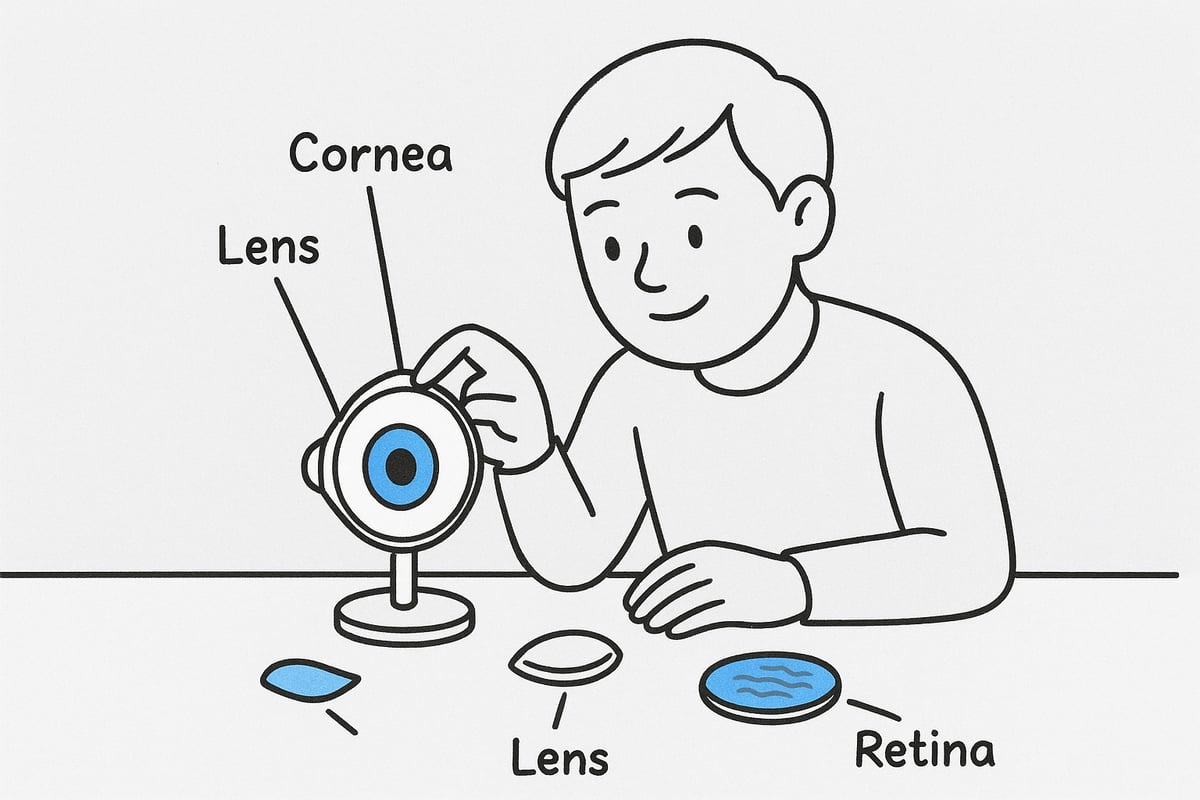
Start by carefully unpacking your eye model. Check that all parts are present and that the instructions are included. Place the eye model on a stable surface to avoid small parts getting lost along the way.
Read the model instructions carefully and familiarize yourself with which parts can be disassembled. Prepare labels or name cards if the model is to be used for teaching. Good preparation ensures that the eye model can be used effectively and without confusion.
Step 1: Identify and name the parts of the eye
Begin by studying the eye model from the outside. Clearly identify the cornea, sclera, iris, lens, retina, and optic nerve. Use labels or small cards to name each part so that all participants have a visual overview.
A useful exercise is to let the students place the name cards in the correct places on the eye model. This strengthens both memory and understanding. Repeat the process until everyone feels confident about the location of the main structures of the eye.
Step 2: Disassemble and explore the parts
Carefully take the eye model apart so you can examine each part. Notice how the cornea, lens, and vitreous are positioned in relation to each other. Describe the function of each structure out loud or in small groups.
If you have access to an augmented reality app, you can add digital layers showing blood vessels or diseases. This makes the eye model even more lifelike and relevant, especially for visual and kinesthetic learners.
Step 3: Reassemble the eye model
Once all parts have been examined, the eye model must be reassembled. Follow the instructions carefully, making sure that each part clicks into place correctly. Use this process as a group activity where participants help each other understand the connections between the structures of the eye.
Assembling the eye model not only strengthens anatomical understanding, but also collaboration in teaching. Discuss how the individual parts work together to ensure vision in a healthy eye.
Step 4: Demonstrate the vision process
Now use the eye model to illustrate how light travels through the eye. Start at the cornea, continue through the lens, and show how light is focused on the retina. Explain how the optic nerve sends signals to the brain.
Make the process interactive by having students or participants follow the path of light with a laser pointer or similar. This hands-on demonstration makes it easier to understand the complex functions of the eye.
Step 5: Research diseases and conditions
If your eye model has interchangeable parts, you can demonstrate various eye diseases such as cataracts, glaucoma, or retinal detachment. Replace the relevant parts and show how diseases affect the structure and function of the eye.
Feel free to use real-life cases or images to supplement the eye model. This provides increased understanding of how anatomy and disease are related, and why early diagnosis is important.
Tips for effective learning with eye models
To get the most out of the eye model, combine physical work with digital resources and discussion. Ask open-ended questions and encourage reflection. Quizzes and practical exercises can reinforce learning and make teaching more engaging.
It is also worth incorporating knowledge about the elements of good teaching , so that the eye model becomes an integrated part of a varied and motivating learning process. Remember to adapt the level of difficulty to the target group and allow space for everyone to try for themselves.
Eye models in future education and technology
The eye model of the future will be more than just a physical object. It combines advanced technology with classic communication and creates completely new opportunities for learning. From digital solutions to sustainable materials - development is rapid, and the demands for both detail and usability are growing.
Digital and augmented reality eye models
Digital eye models and augmented reality (AR) have revolutionized the way we understand the anatomy of the eye. With an AR eye model, students can explore layer by layer, rotate, and zoom in on structures that are otherwise difficult to see in real life.
The benefits are clear: interactivity, accessibility and increased engagement. Many models now come with accompanying learning apps where the user can simulate the visual process or visualize diseases. An eye model in AR also allows for the connection of physical and digital activities, which strengthens both understanding and motivation.
This development also reflects research into engaging teaching - seen from a student perspective , where digital tools are highlighted as central to creating engaging learning.
Integration into online and hybrid education
Eye model-based teaching is now moving beyond the traditional classroom. In online and hybrid learning, 3D models can be shared on screen so that all participants can follow and interact regardless of physical distance.
Many platforms now offer virtual eye models, where students can explore the parts of the eye and test their own hypotheses. Video and interactive elements often complement the physical eye model, allowing for a variety of learning activities. Statistics from 2025 show a significant increase in the use of digital models, especially in higher education.
For student teachers, video has become an important supplement, both as an analytical tool and as part of practical courses. Video as an analytical tool and learning tool for student teachers emphasizes how digital media can strengthen understanding of complex topics such as the anatomy of the eye.
New trends and innovations in the market
The eye model market is evolving rapidly. 3D printed models that can be customized to individual needs are gaining ground. This makes it possible to produce eye models with precise disease progression or specific anatomical variations.
Sustainability is also in focus. Many manufacturers are now working with environmentally friendly materials that are both durable and easy to recycle. There is also closer collaboration between manufacturers and healthcare experts, ensuring that each eye model meets the latest standards for educational usability.
Future requirements for eye models
The demands on a modern eye model are increasing. Both teachers and students expect a high level of detail, flexibility and easy-to-understand functionality. This is especially true for models used in advanced teaching or research.
Ease of use is crucial: The model must be intuitive to assemble, disassemble, and use in practice. At the same time, eye models must be able to be quickly updated to reflect the latest scientific advances. This ensures that teaching remains relevant and up-to-date.
Statistics and market data for eye models in 2025
In 2025, we see continued growth in the use of eye models in both primary and secondary schools and health education. Market data indicates that digital eye models now account for approximately 45 percent of all models sold in the education sector.
However, the demand for physical models is still high, especially where detail and tactile experiences are emphasized. The combination of digital and physical eye models is considered by many educators to be the most effective way to deeply understand the anatomy of the eye.
Resources and Immersion: Where can you learn more?
Do you want to expand your understanding of the anatomy of the eye and get even more out of your eye model? There are a wealth of resources that can strengthen both theoretical and practical knowledge.
Recommended books and articles:
- "Anatomy and Physiology of the Eye" by Danish ophthalmologists
- "Human Eye: Structure and Function" (international standard)
- Academic articles from journals such as Ugeskrift for Læger and Acta Ophthalmologica
Digital resources and videos:
- Free educational videos from universities and museums
- Interactive 3D models on medical learning platforms
- Online courses targeted at both students and teachers
For visual learning, Anatomical posters and learning materials can be a valuable supplement to the eye model work. The posters provide clear illustrations that strengthen the understanding of the structure of the eye.
Suppliers and courses:
- Danish and international eye model retailers, e.g. eAnatomi and 3B Scientific
- Workshops for teachers and medical students organized by universities and professional organizations
Supplement your eye model with posters, apps, and hands-on courses to gain a holistic understanding of eye anatomy. Combining multiple resources ensures that learning is both in-depth and engaging.
Now that you have gained insight into how eye models can make the anatomy of the eye both tangible and easy to understand, it is obvious to take it a step further. Whether you are a teacher, student or just curious, with the right model you can transform complex knowledge into concrete understanding and inspire others to learn more. At eAnatomi you will find a wide selection of carefully developed eye models that match both your professional level and your needs. If you want to dive deeper or find the perfect model for your teaching or practice, then Read more here
0 comments